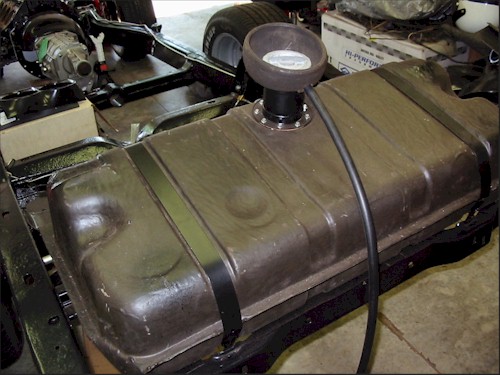
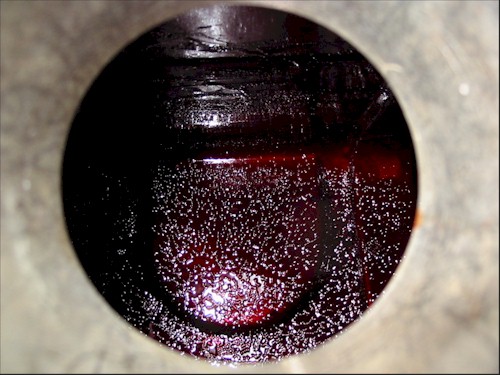
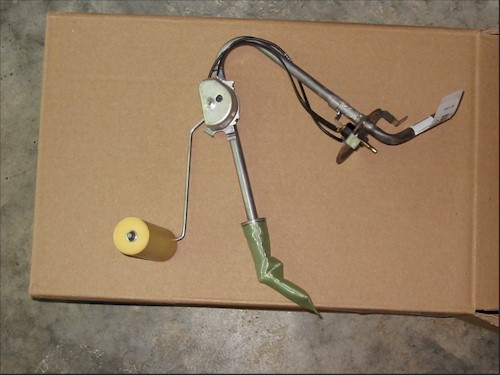
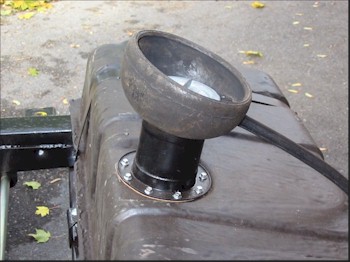
ComputerSupport.ca

The Rebuild of a Legend
"Chapter 20 - Gas Tank"

Click on the following images to see larger photos

After a complete boiling of the tank, the exterior has been coated with a synthetic rubber compound. New straps, anti-squeak pads and hardware were used for mounting the tank back on the frame.
The interior of the tank received a purple-coloured epoxy coating that resists moisture. This photo is looking down inside the fill hole.
Here's a look at the new gas tank sending unit which will mate up to the new stainless steel gas line.

We painted the mouth extension with POR-15 and applied a new rubber boot and overflow tube.

New mounting screws and a gasket were used in assembly.

The plastic strap will be used to attach the long gas tank overflow tube to the bumper brace.

Click on the above images to see larger photos


Home to Corvette main page.    Table of Contents on main page.    Back to previous chapter.    Forward to next chapter.

Back to TOP of this page -- Back to the HOME page.
For comments or questions, please eMail

Content Copyright (c) 2001 - 2014, Consulting Principles Inc. All rights reserved.
Last modified: September 08, 2014