 |
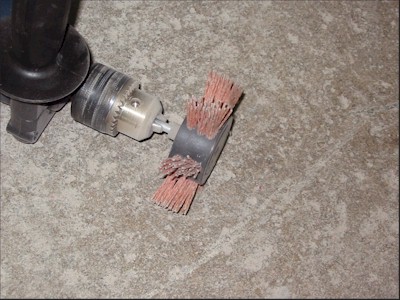
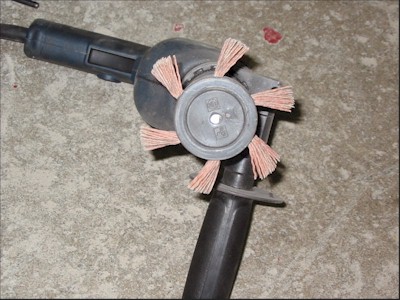
Following
this shot, I got under with the nylon flapper again to really clean this
area up. |
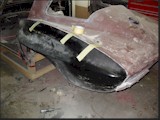 |
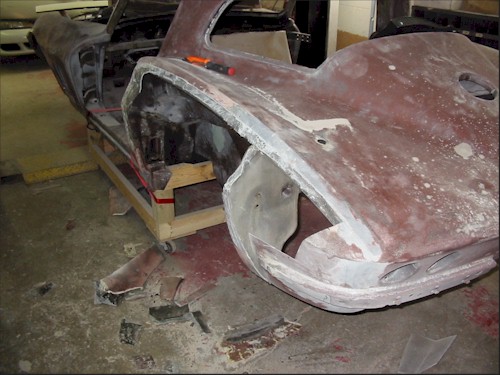
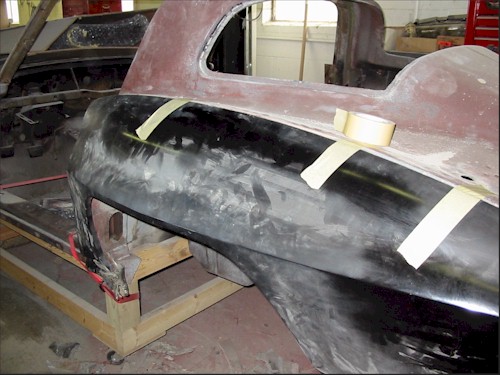
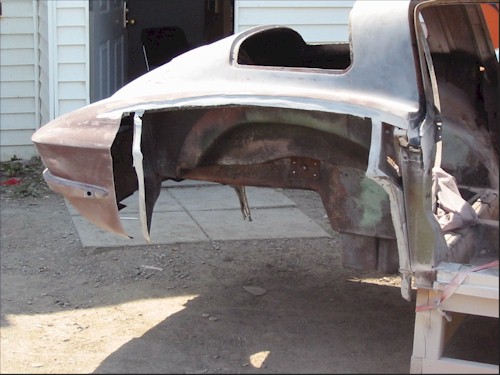
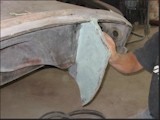
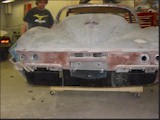
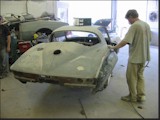
After temporarily
removing the raised fiberglass section directly behind where the bumper
wings (facing forward) would sit, we test-fitted the new fender. |
|
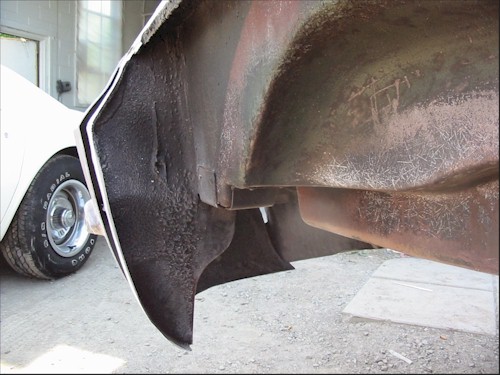
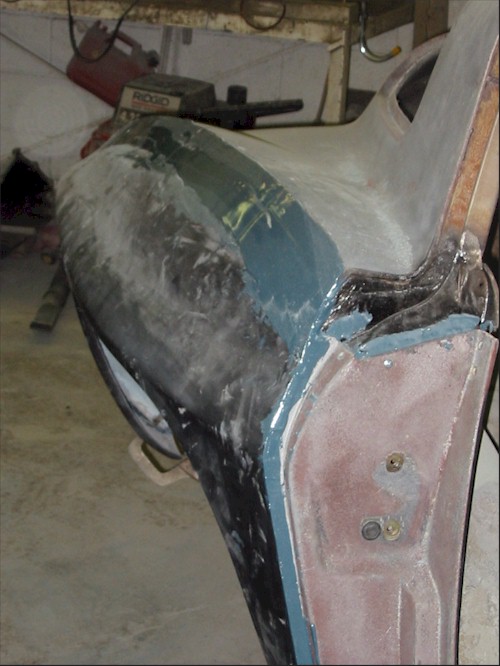
The fit is quite
good, but due to the much wider fender, an extension of the support
panel between the inner body and the new fender will be necessary at the
rear of the wheelwell. |
|
|
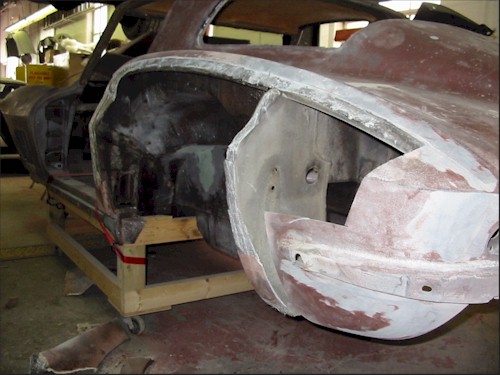
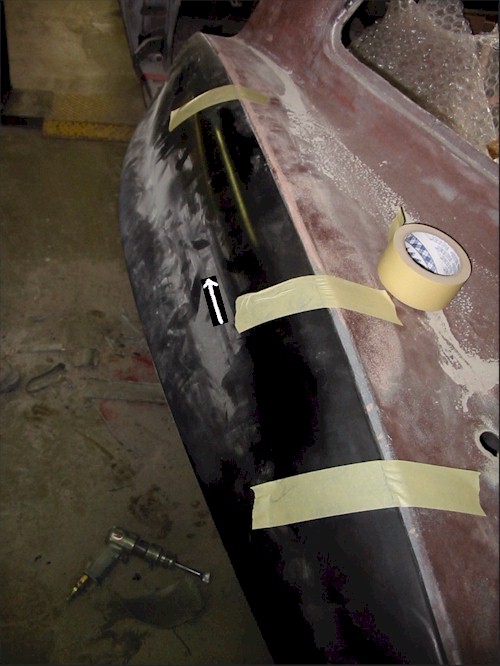
The arrow on the larger photo (click on this photo) represents the
original stock fender line.
|
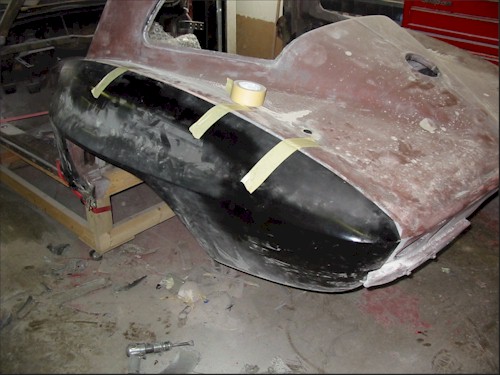
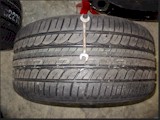
Can't wait to see a wheel and tire under there....this one, for example.
The wrench represents the width of the original 7.75x15" tires.
|
|
|
 |
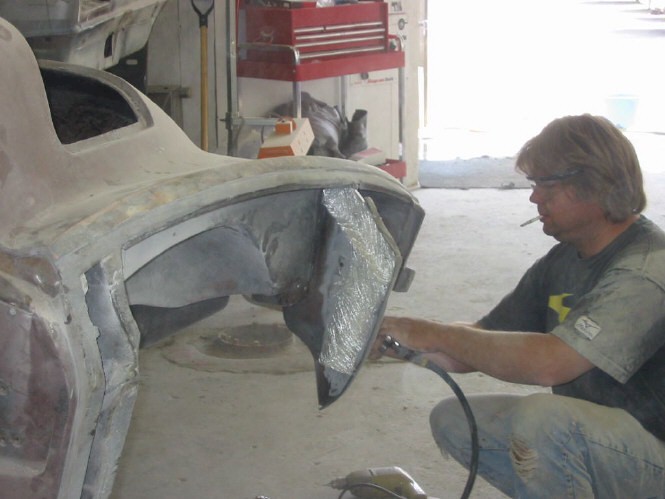
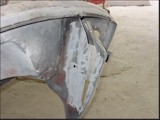
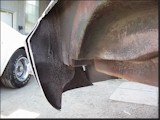
Due to the increased
width of the new fenders, the rear splash shields need to be widened.
Step one - cut and spread. |
| View
from in front. |
|
 |
Step two........lay in
the fiberglass cloth and resin. |
Step
three......make it look nice.  |
|
 |
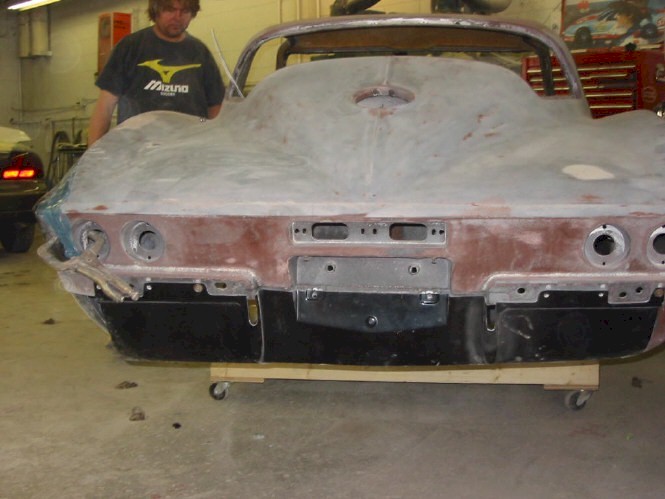
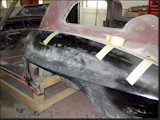
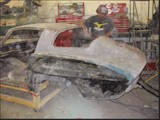
Prior to working on
the new passenger side fender, this is a test fit of the new lower rear
valance (also referred to as the exhaust panel). Both the front and rear
lower valance panels were cracked, years ago, by the pumping action of
floor jacks when in a "hurry" to change wheels and tires.  |
|
Fender
is bonded in place.
|
|
 |
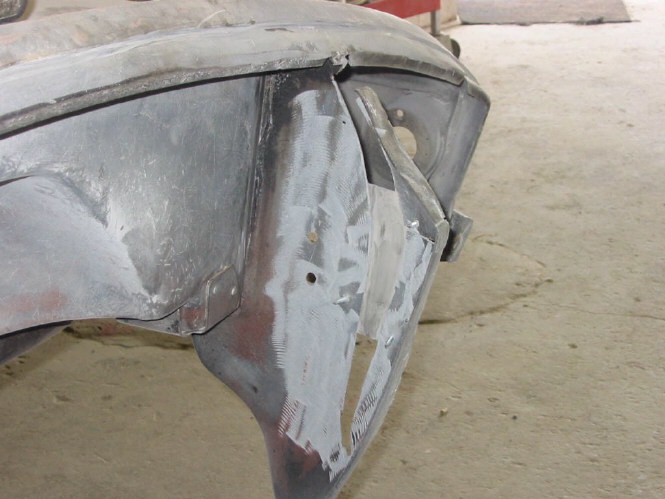
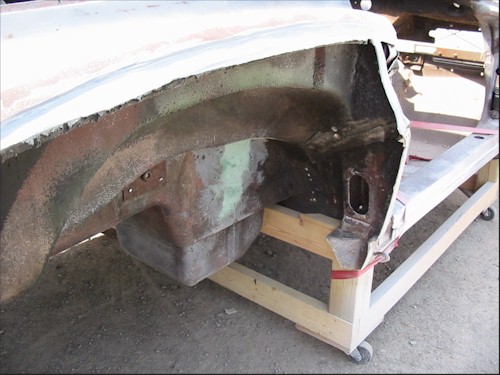
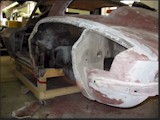
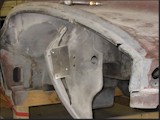
The passenger side
rear fender is cut off. Now, I'll get under there with the flapper
to clean it all up. |
 |
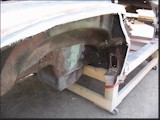
The plan is to cut
away everything but the raised fiberglass section (that sits behind the
bumpers) and slide the new fender in behind it. (EDIT:
Didn't do it that way. The narrow left-over portion would have broken
off anyway, so it was cut off. See next chapter for how it was bonded on
to the new fender.) |
|
After
clean-up, it'll be time to bond another new fender on.
|
|
 |
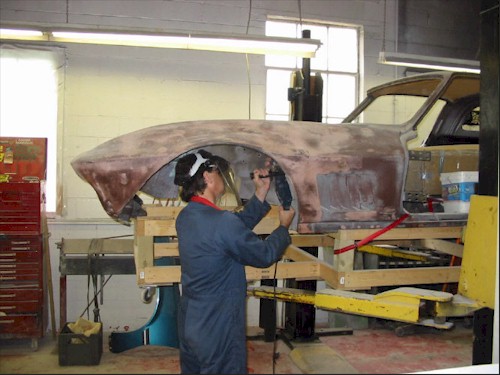
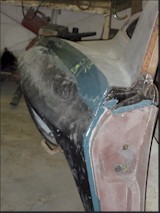
Test fitting the
passenger rear fender. |
|
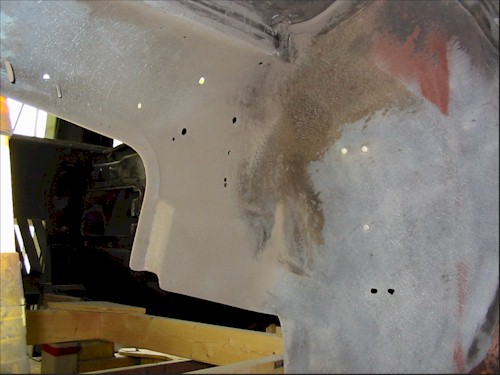
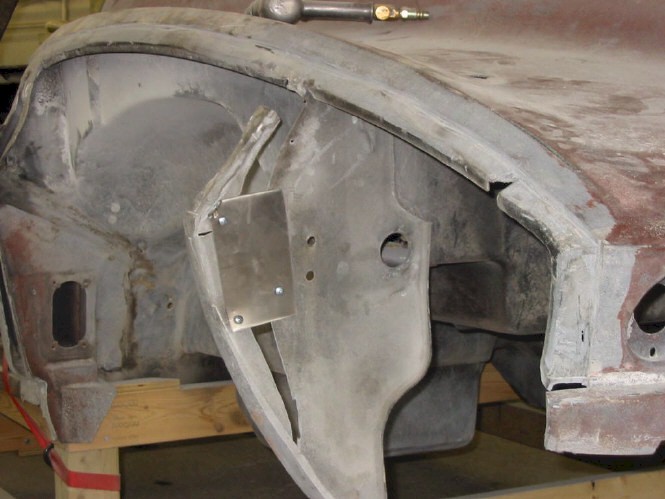
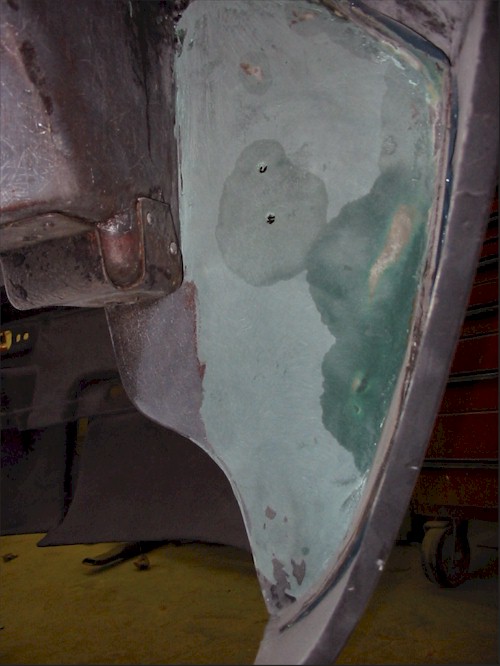
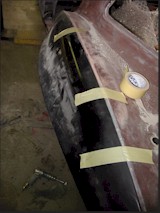
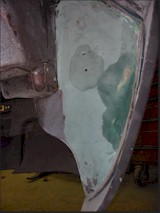
Here's
what the driver's rear splash shield area looks like "after"
the fender was bonded on. Some minor finishing and this portion is ready
for prime.
Wondering what the two holes are?
Chevrolet didn't bother changing the panel after dropping the earlier
power antenna option for 1967. The motor would mount behind this panel
using those holes. |
|
 |
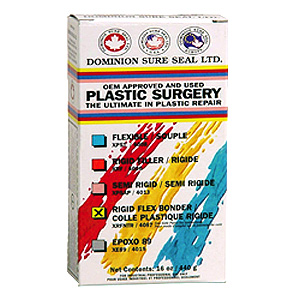
After discussions with
people at General Motors, the decision was made to use Dominion Sure
Seal Plastic Repair for bonding on of the fenders, lower front valance
and front signal light panels. The specific mix is called "Rigidflex
Bonder".
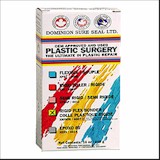
Very good product to work with,
but very expensive!
|